
Errors with Windows 10 is a pretty common thing. And I know the fact that whenever an error pops up, it is quite frustrating. One of such frustrating error is the “windows modules installer worker.”
Windows 10 users often get to notice a message that says “Windows Modules Installer Worker process is using a large percentage of your CPU.”
In case if you are thinking that you are the only one who is getting this error, then let me tell you that you are not alone. In fact, like you, there are thousands of Windows 10 users who are facing the safe.
However, fortunately, fixing the issue is not too hard. There are two possible ways that you can use to get rid of the Windows modules installer worker error.
Nonetheless, before we go ahead and talk about the fix, we need to understand what this error is about. So let’s just head into the topic without wasting any further time.
Also Learn: How to Fix the service registration or missing or corrupt error
What is Windows Modules Installer Worker?
The Windows modules installer worker or the TiWorker.exe is a Windows update service. The main purpose of this service is to look for new updates from time to time and install it on your computer.
Whenever you turn on your Windows 10 computer and connect it to the internet. The service gets activated and starts looking for new updates and installs it on the background.
However, fixing it is not that hard. As I have mentioned above there are two ways to do it:
- Disabling Windows Update service
- Change the Internet setting
Now let’s just go ahead and talk about these two methods one by one.
Also Learn: DNS Probe Finished No Internet Error on Windows
Method 1: Disabling Windows Update service
First of all, let’s talk about the steps that we have to follow to disable Windows update service. Since the windows modules, installer worker error is related to the update.
So if we disable the Windows update, then the windows modules installer worker will be unable to look for any updates. As a result, you can easily get rid of the error. To disable the windows update service, follow the below-mentioned steps:
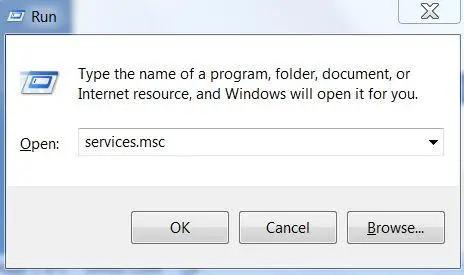
Step 1: First of all press the Win Key + R button at the same time. This will open the Run menu. You can also search for Run in the search bar provided in the Start menu.
Step 2: From the run menu you have to type Services.MSC and hit the enter button. This will open the services window.
Step 3: Now over here press the W key and look for the option that says “Windows update.”
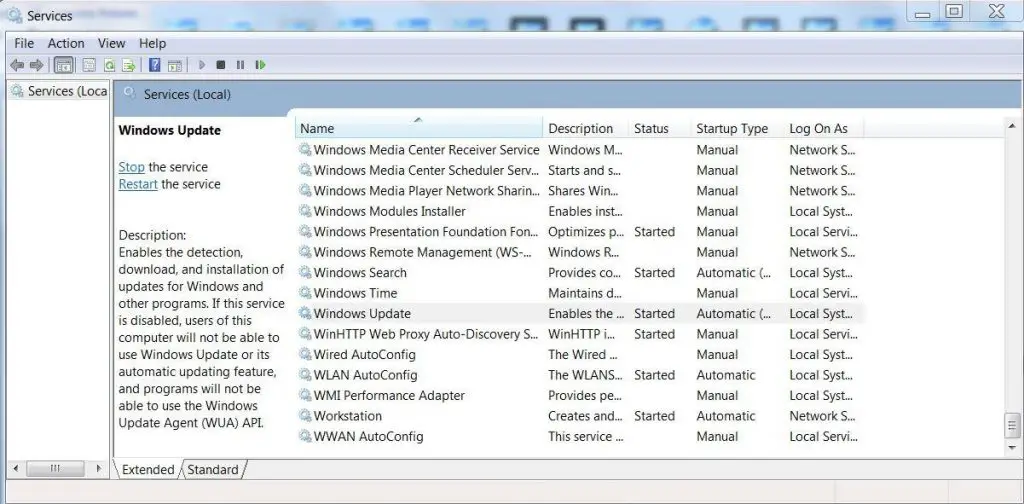
Step 4: Now right click on the Windows update option and select Properties.
Step 5: After that from the Startup Menu you have to select Disabled.
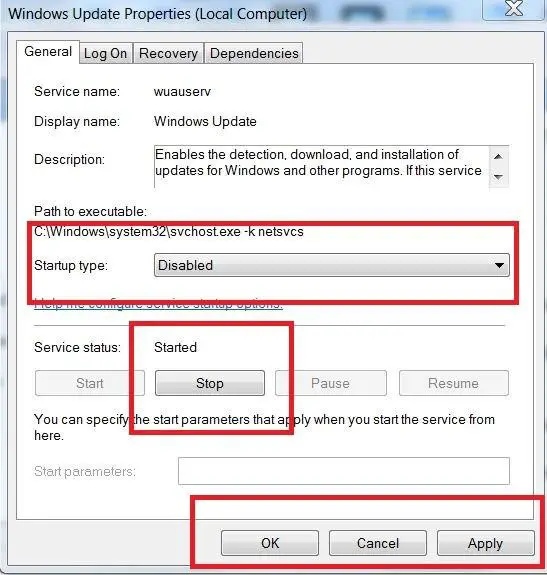
Step 6: Then click on the stop button and wait for a while.
Step 7: In the end click on the apply and ok button, and you are all done.
Now go ahead and check if your CPU usages are back to normal or not. Or are you still getting the windows modules installer worker error in the task manager?
Method 2: Change the Internet setting
Talking about the second method which is changing the internet settings. Well if you are facing issues while turning off the Windows update, then there is another way that you can make use of.
In this method, you have to change your internet settings a bit, and you are all set. Also yes, there are two different methods for what type of internet connection you use. I will mention the steps for the Wi-fi network and Ethernet network.
Wi-Fi Network Steps:
Step 1: Click on the Start button.
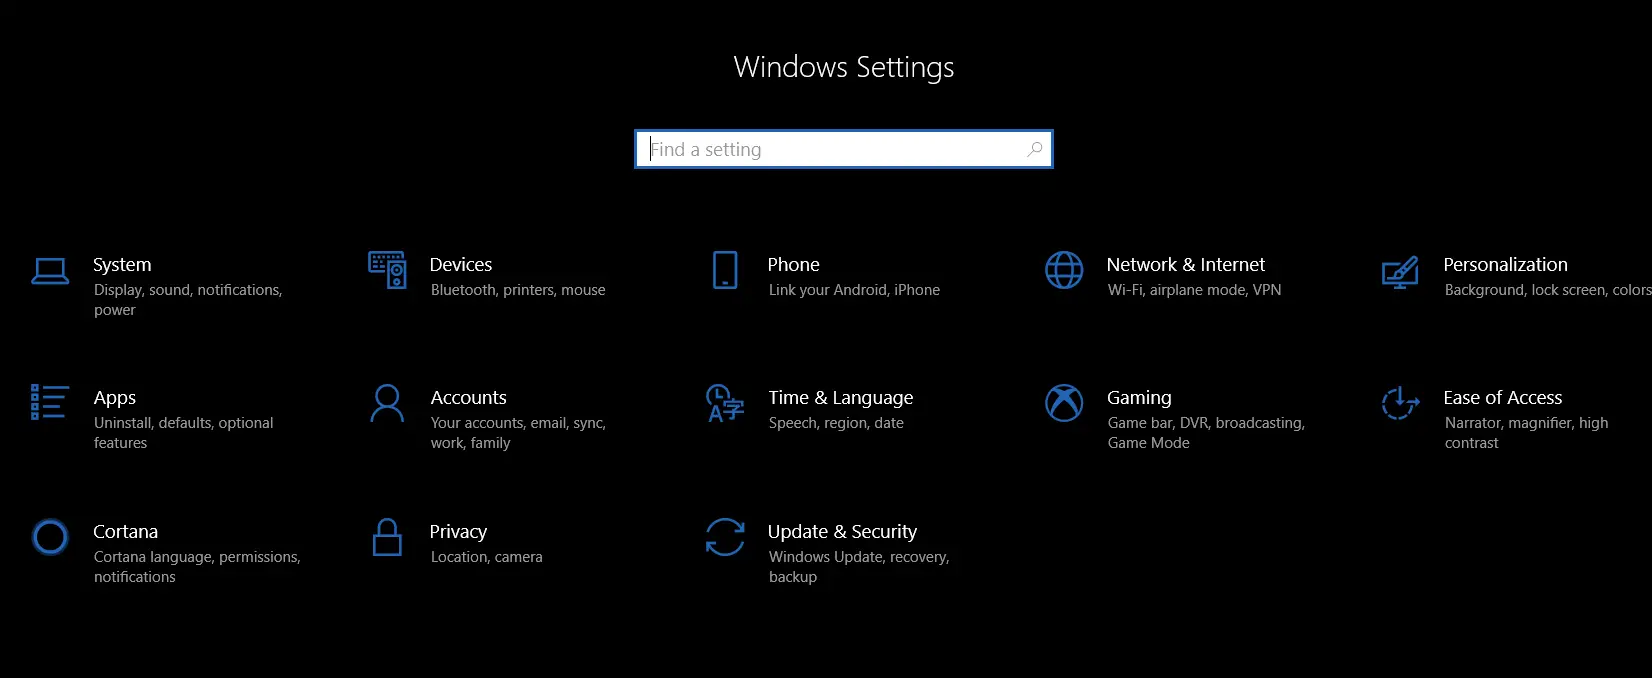
Step 2: Now select Settings.
Step 3: Now go to the Network & Internet and select Wi-FI.
Step 4: After that, you have to click on the Advanced Options.
Step 5: Enable the toggle that says “Set as metered connection.”
That is it, now open your task manager and check if the windows modules installer worker is still there or not.
Ethernet Connection Steps:
Step 1: First of all from your keyboard press the Win Key + R button at the same time to open the Run menu.
Step 2: In the run box you have to type down regedit and hit the Enter button.
Step 3: This will prompt you with a small User Account Control window. Just click on the yes button, and you are good to go.
Step 4: After that you have to follow this following path: HKEY_LOCAL_MACHINE > SOFTWARE > Microsoft > WindowsNT > CurrentVersion > NetworkList > DefaultMediaCost
Step 5: Now right click on the DefaultMediaCost and select Permissions.
Step 6: Then select Administrators and click on the Add button.
Step 7: After that, you have to type down your username into the “Enter the object names to select” option.
Step 8: Then click on the Check Names button and click on OK.
Step 9: Then you have to do a right click on the user that you have just added and then give the account Full Control by placing a tick.
Step 10: Next up, you have to double click on the option that Says Ethernet and set it’s valued data as 2.
Step 11: Finally, save everything and restart your machine and you are done.
Now go ahead and open the task manager and check if you are still getting the windows modules installer worker or not.
Wrapping Up:
So those were all the steps that you have to follow to get rid of the windows modules installer worker error. Now go ahead and try these steps out and see if they are working for you.
However, we would suggest you to go with the very first method and see if it has solved your issue or not. Since playing around with the regedit options can mess up your computer sometimes. So we would advise you to go for the option only if the first method doesn’t work for you.
Anyway, if you have any more questions to ask, feel free to comment down below.